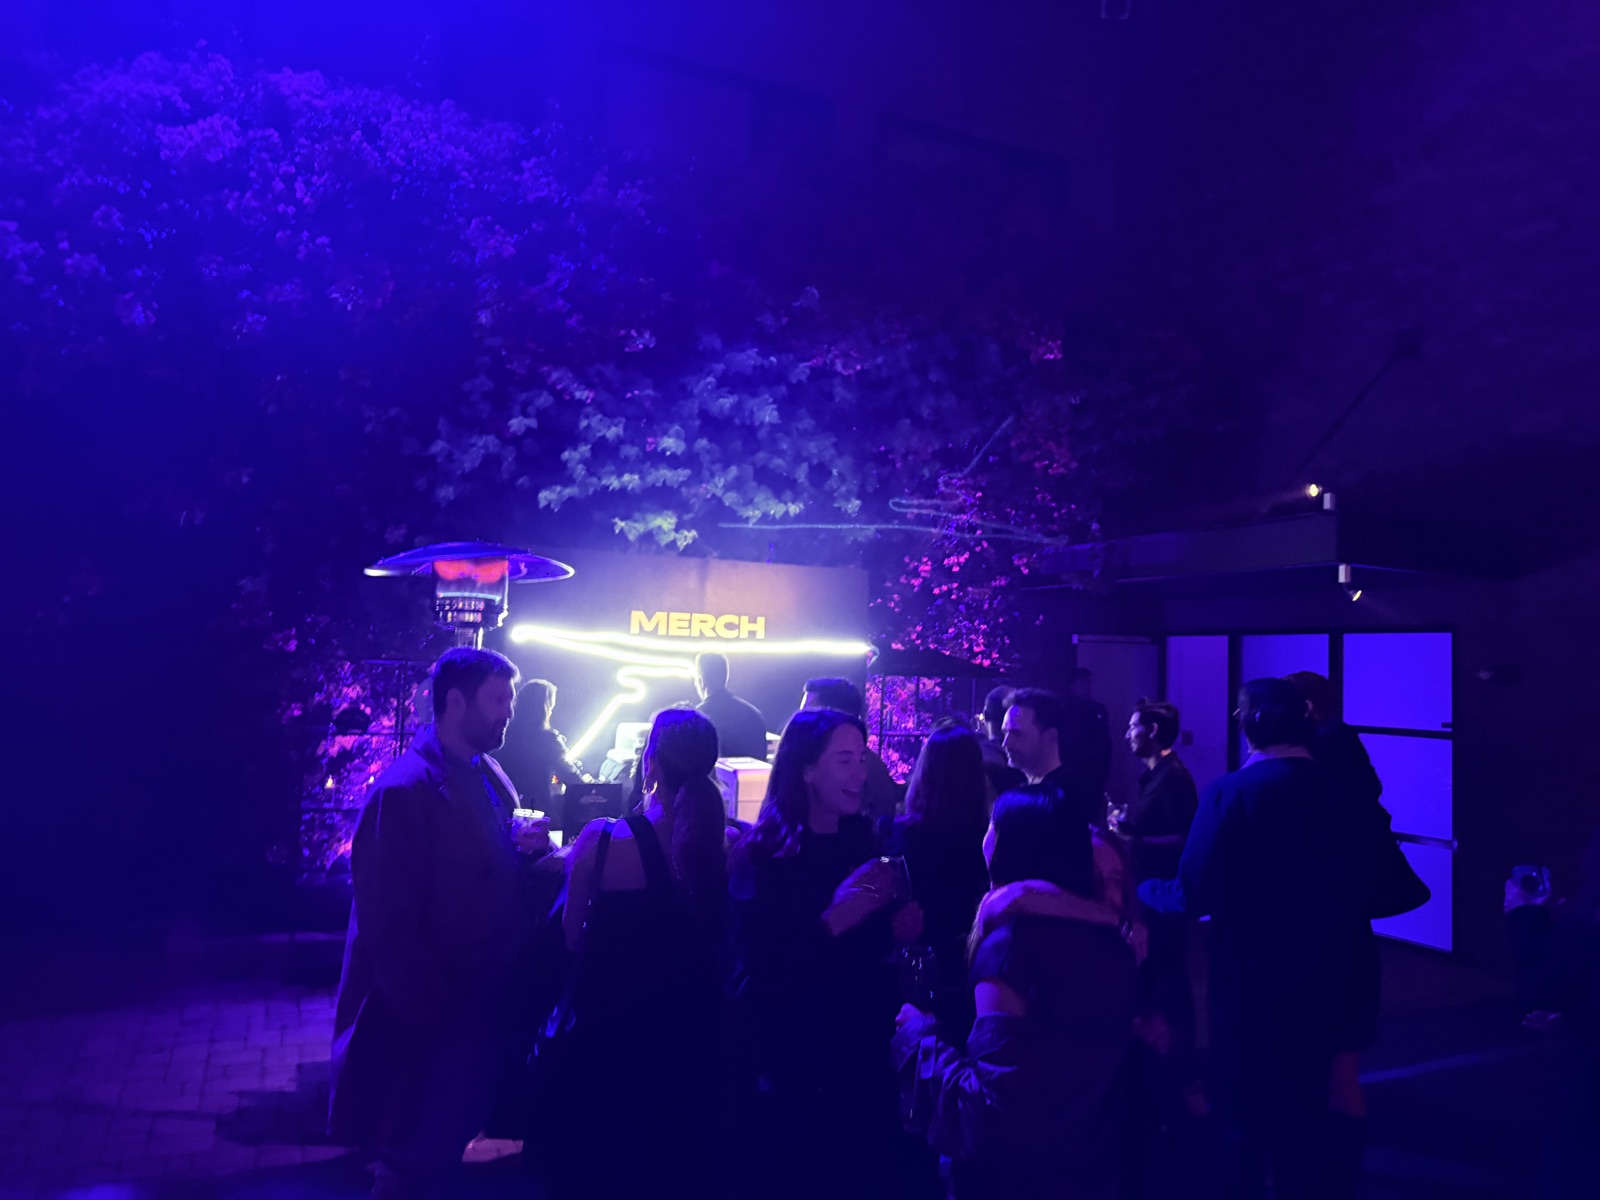
A live print station looks effortless when it is done right, and that ease is the result of a thorough checklist completed well before doors open. This activation checklist walks event planners through every stage — from the initial brief to the final pack-out — so nothing gets missed and the station runs cleanly on event day.
Use this as a working list with the Merch Troop crew. We handle the production details, but the items below are the shared inputs that make an activation smooth: confirm them early and the day takes care of itself. The structure follows a simple timeline — lock the big decisions first, finalize artwork and products next, then nail down the venue logistics in the final stretch — so each stage builds on the one before it.
Working backward from the event date is the trick that keeps everything calm. When you know the day guests will be in the room, every other deadline falls into place: artwork has to be final before screens or transfers are made, blanks have to be ordered before they can ship, and the venue walkthrough has to happen before load-in. The list below assigns each task to the window where it belongs.
4–6 weeks out: the brief and the booking
Start with the fundamentals that shape everything else. The earlier these are locked, the more options you have on products, methods, and crew. This is also the moment to align internally on what success looks like — a high-volume giveaway, a premium keepsake, or a photogenic brand moment — because that intent guides every choice that follows.
- Event date, venue, and city confirmed.
- Expected guest count and target number of printed items.
- Activation window: when production runs, plus a setup and teardown buffer.
- Decoration method selected (screen, DTF, embroidery) to match the artwork and volume.
- Quote requested and booking confirmed with the Merch Troop crew.
2–4 weeks out: artwork and products
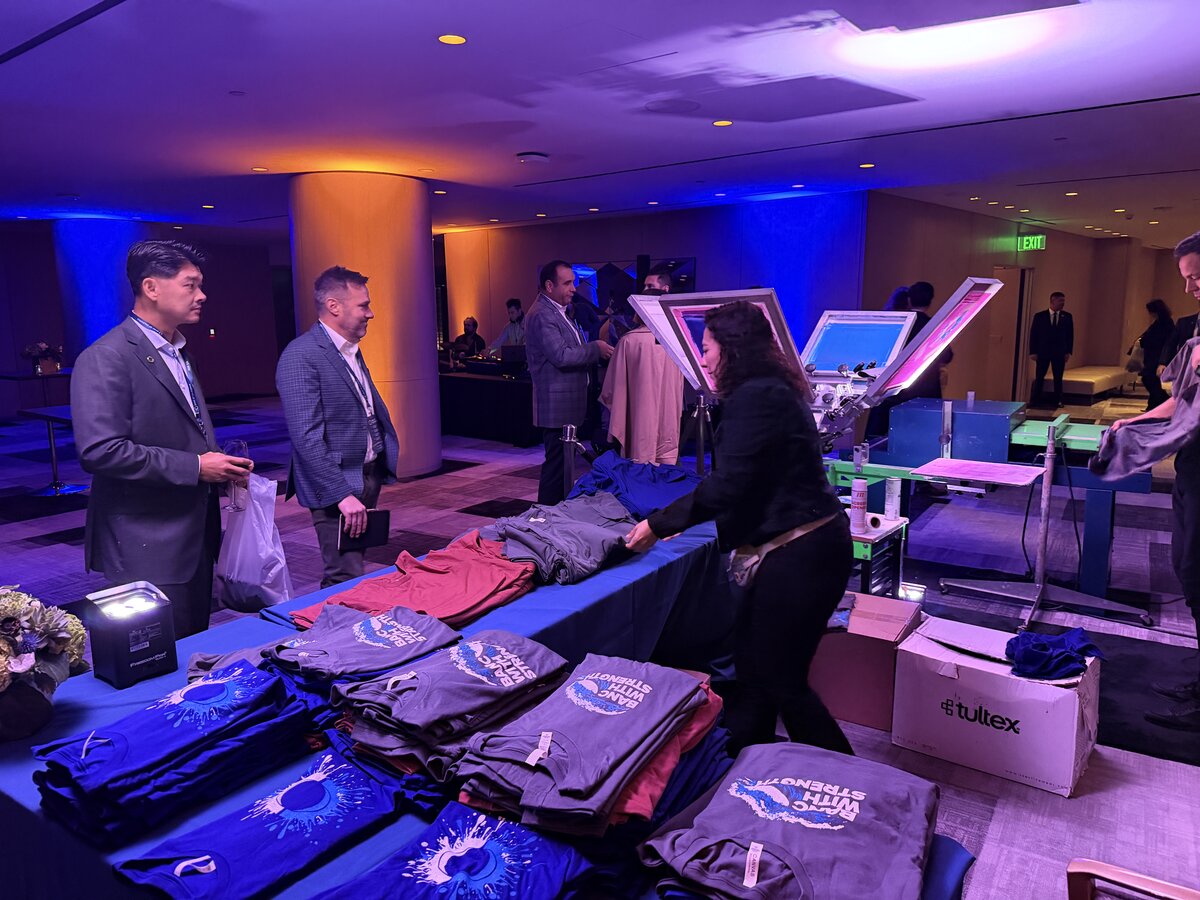
This is the window where design and inventory decisions get finalized. Giving artwork enough runway is the single most common thing that separates a smooth event from a rushed one. A design that is locked and print-ready well ahead of time lets the crew prepare screens or transfers calmly, test them, and catch any color or placement issues before they become an event-day problem.
Products deserve the same lead time. Sourcing the right blanks in the right colors and sizes takes a few days to ship and stage, and the most common day-of failure is running out of popular sizes too early. Confirming garments and quantities in this window leaves room to adjust the order if your guest estimate changes, rather than scrambling at the last minute.
Artwork
- Final design approved and supplied in print-ready format.
- Colors and placement confirmed for each garment.
- Screens, transfers, or embroidery files produced ahead of load-in.
Products
- Garment styles and colors chosen — a tight, on-brand menu.
- Size curve confirmed with a generous buffer on common sizes.
- Blanks sourced and quantities verified against expected demand.
1–2 weeks out: venue logistics
The unglamorous specifics decide whether load-in is calm or chaotic. Confirm these with the venue and lock them in writing. A short call or walkthrough with the venue's events contact at this stage surfaces the constraints — power locations, dock hours, labor rules — that are expensive to discover on the morning of the event.
- Footprint: booth size, table count, and a buffer behind the production zone.
- Power: dedicated circuits and amperage for presses, dryers, and heat presses.
- Access: load-in dock or elevator times, parking, and any venue or union labor rules.
- Layout: placement that separates choosing, production, and pickup for clean guest flow.
- Teardown: a confirmed pack-out window at the end of the event.
Day-of: setup and run-of-show
On event day, the checklist shifts to staging and a smooth run. The crew arrives early to set up and test before the first guest, because the worst time to discover a power or color issue is with a line already forming. A sample print confirms the station is dialed in, and a quick station-by-station briefing makes sure everyone knows their role before doors open.
- Load-in, booth build, and power connected.
- Equipment tested with a sample print to confirm quality and color.
- Product and size inventory staged and visible.
- Stations assigned: greeter/intake, operators, and finisher/pickup.
- Claim-ticket flow ready so guests can step away and return at pickup.
- A lead monitoring inventory and balancing the line during surges.
After the event: teardown and follow-up
A clean close protects the venue relationship and the brand. The crew manages an organized teardown, accounts for inventory, and packs out within the agreed window. From there, capture a few photos of finished merch and the station for your recap, and note what to adjust for next time.
The post-event notes are easy to skip and genuinely valuable. Recording how many items you produced, which sizes and colors moved fastest, and where the line bottlenecked turns a single event into a better-planned series. Those numbers sharpen the next quote, refine the product menu, and help right-size staffing so each activation runs a little smoother than the last.
One detail worth planning deliberately is the guest flow itself. Keeping the choose, intake, production, and pickup zones physically separated lets guests claim a ticket and step away rather than standing in one static line, which absorbs the surges that hit after a keynote or during a break. A station designed this way feels fast even when the room is busy, and it keeps the activation looking like a branded experience instead of a queue.
Finally, build in a little slack everywhere — a few extra blanks in popular sizes, a small time buffer around load-in and teardown, and a clear point person for any venue questions on the day. The events that run smoothest are rarely the ones with no surprises; they are the ones where the plan had enough margin to absorb the surprises without stalling the line. A complete checklist is really a way of buying that margin in advance.
Merch Troop runs this checklist as a single managed vendor — product sourcing, artwork prep, trained operators, travel, setup, and guest handoff — based in Orange County and serving Los Angeles, San Diego, Las Vegas, and nationwide programs with lead time. Send your brief and we will turn this list into a planned, confirmed activation.